This tutorial shows how to create a simple Java application from scratch using the reJ GUI to create bytecode for the Java virtual machine.
When run, the class prints out "Hello, world" on the console.
It is probably not very sensible to create Java applications with reJ, instead the intention of this tutorial is to give a tour of the basic funcionalities of the reJ GUI.
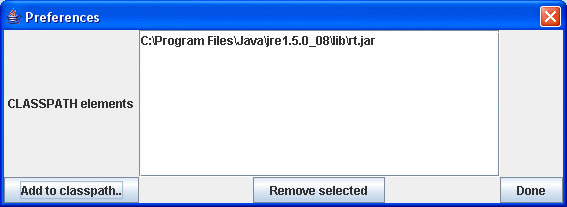
From the reJ menu, select Tools / Preferences
In the Preferences dialog, click on Add to classpath..
Navigate to the folder of a Java Runtime Environment installed on your computer and select the jar/zip file containing the runtime classes for the JRE.
In the case of a Sun Microsystems JRE this would be the rt.jar file in the lib folder.
From the reJ menu select File / New / Project..
Select a folder where to create the new archive and give the file a name.
For example:
helloworld.jar
From the reJ menu select File / New / Class..
In the Create new class dialog, leave the package as [Default] and in the Class field type:
Hello

Click OK.
If you're not on the Files tab, navigate to it.
Double-click on the Hello.class entry in the tree (it should be the only entry in the list in an empty node)
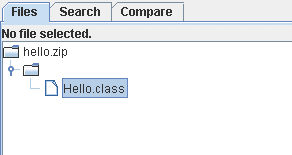
After a brief processing, the title of the Files tab should now read Selected file: Hello.class and the selected Hello.class should appear in bold.
Navigate to the Editor tab.
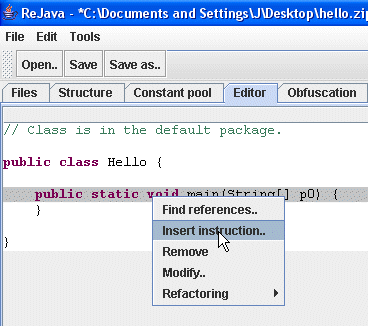
You should see an empty class definition for your Hello class:
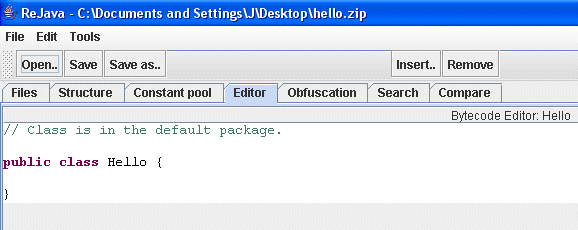
Click on Insert.. and in the menu which appears, choose Insert Method..
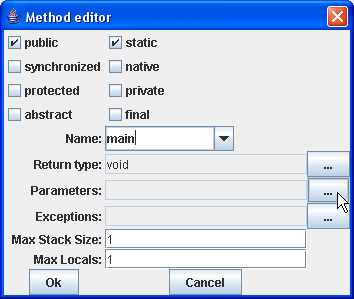
In the Method editor, check the following access options: public and static
Make sure the rest of the access-definition checkboxes are unchecked.
In the name field, type:
main
Leave the Return type -field as void.
Click on the button(...) next to the Parameters -field.
In the parameter Chooser dialog, click Add..
In the Type Chooser dialog, click on the button "..." next to the type -field.
In the Choose Class dialog, type String in the search box, and select the String in the list for which the package is java.lang.
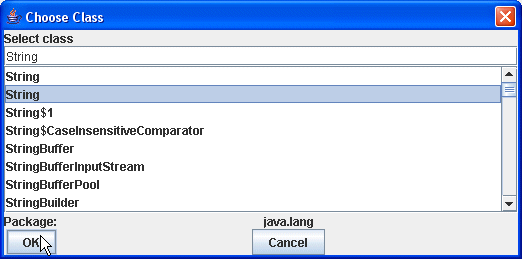
If there are no classes listed in this dialog, verify you did the step number 1 as instructed.
Click OK to close the Choose Class -dialog.
Select (or type) 1 for the Array Dimensions -value.

Click OK to close the Type Chooser -dialog.
The Parameter Chooser -dialog should now have one entry in the list:
java.lang.String[]

Click OK to close the Parameter Chooser -dialog.
You should now be back in the Method Editor -dialog.
In the Max Stack Size field, set the value as 2
Ensure that the Max Locals value is 1
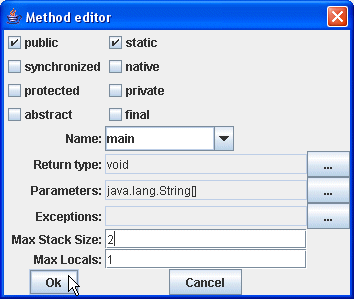
Click OK to finish creating the new method.
Your Hello -class should now have an empty main method (with the standard main-method signature).
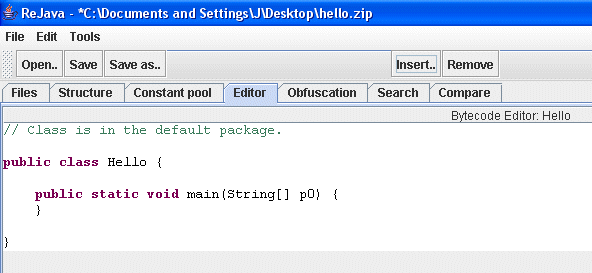
Select the method signature line (the line that reads: public static void main(String[] p0))
Right click on the mouse and select Insert instruction..
The Instruction Editor -dialog should appear.
In the Instruction field, select getstatic.
In the parameters section, click on the "..." button next to the Field -field.
The Choose Field -dialog should appear.
Click on the "..." button next to the Class -field.
The Choose Class -dialog should appear. Choose the class System (in the java.lang package) by typing all or a part of the name, or by choosing it from the list.
Click OK to return to the Choose Field -dialog.
In the Field -field, select the following entry:
java.io.PrintStream out
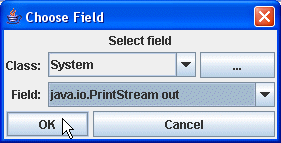
Click OK to close the Choose Field -dialog.
The selected field is now visible in the parameters section of the instruction editor.
Click OK to close the Instruction Editor.
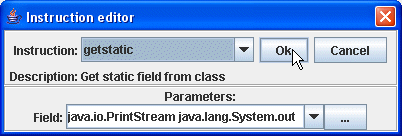
Navigate to the Constant pool -tab
Click on the "Insert.." button.
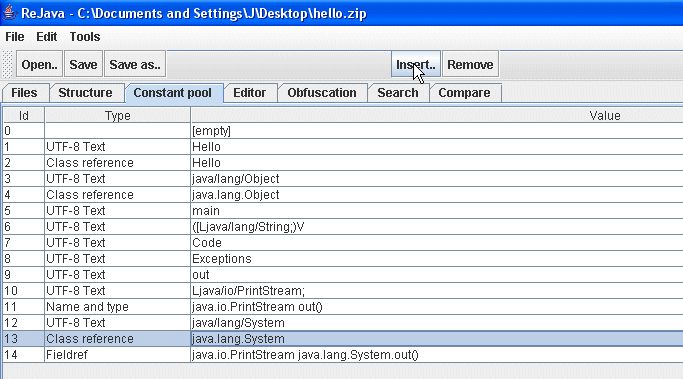
In the dialog that appears, choose String constant.
In the "Insert String Info" -dialog, type:
Hello, world.
Click OK to close the dialog.
Notice two new entries in the constant pool:

Navigate back to the Editor -tab.
Select the getstatic instruction that you created in the step 5.1
Right click on the mouse and select Insert after.. from the pop-up menu.
In the Instruction -field, select ldc
Verify that in the parameters section, in the constant field, the String constant you created in the step 5.2 is selected.
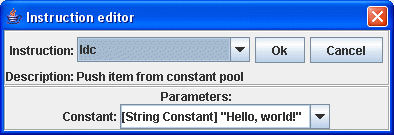
If the field is empty and there are no values to select, go back to step 5.2 and verify you did everything as instructed.
Click OK to close the Instruction Editor.
Select the newly created ldc instruction.
Right click on the mouse and select Insert after.. from the pop-up menu.
In the Instruction -field, select invokevirtual
In the parameters section, click on the "..." button next to the Method -field.
The Choose Method -dialog should appear.
Click on the "..." button next to the Class -field.
The Choose Class -dialog should appear. Choose the class PrintStream (in the java.io package) by typing all or a part of the name, or by choosing it from the list.
Click OK to return to the Choose Method -dialog.
In the Method -field, select the following entry:
void println(java.lang.String)
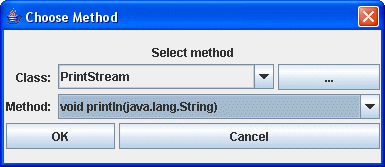
Click OK to close the Choose Method -dialog.
The selected method is now visible in the parameters section of the instruction editor.
Click OK to close the Instruction Editor.
Select the newly created invokevirtual instruction.
Right click on the mouse and select Insert after.. from the pop-up menu.
In the Instruction -field select return
Click OK to close the Instruction Editor.
Click the Save button to save your archive file project.
Your class should look like the following:

In your operating system commandline mode, navigate to the folder where you created the archive file.
Ensure that the java command is in the path (instructions for this are out of the scope of this tutorial)
If you followed the naming suggestions in this tutorial, type the following command:
java -cp helloworld.jar Hello
The output should be similar to the following:
  C:\Documents and Settings\Sami\Desktop>java -cp helloworld.jar Hello
  Hello, world.